Easy Peach Crumble Bars with Fresh Peaches
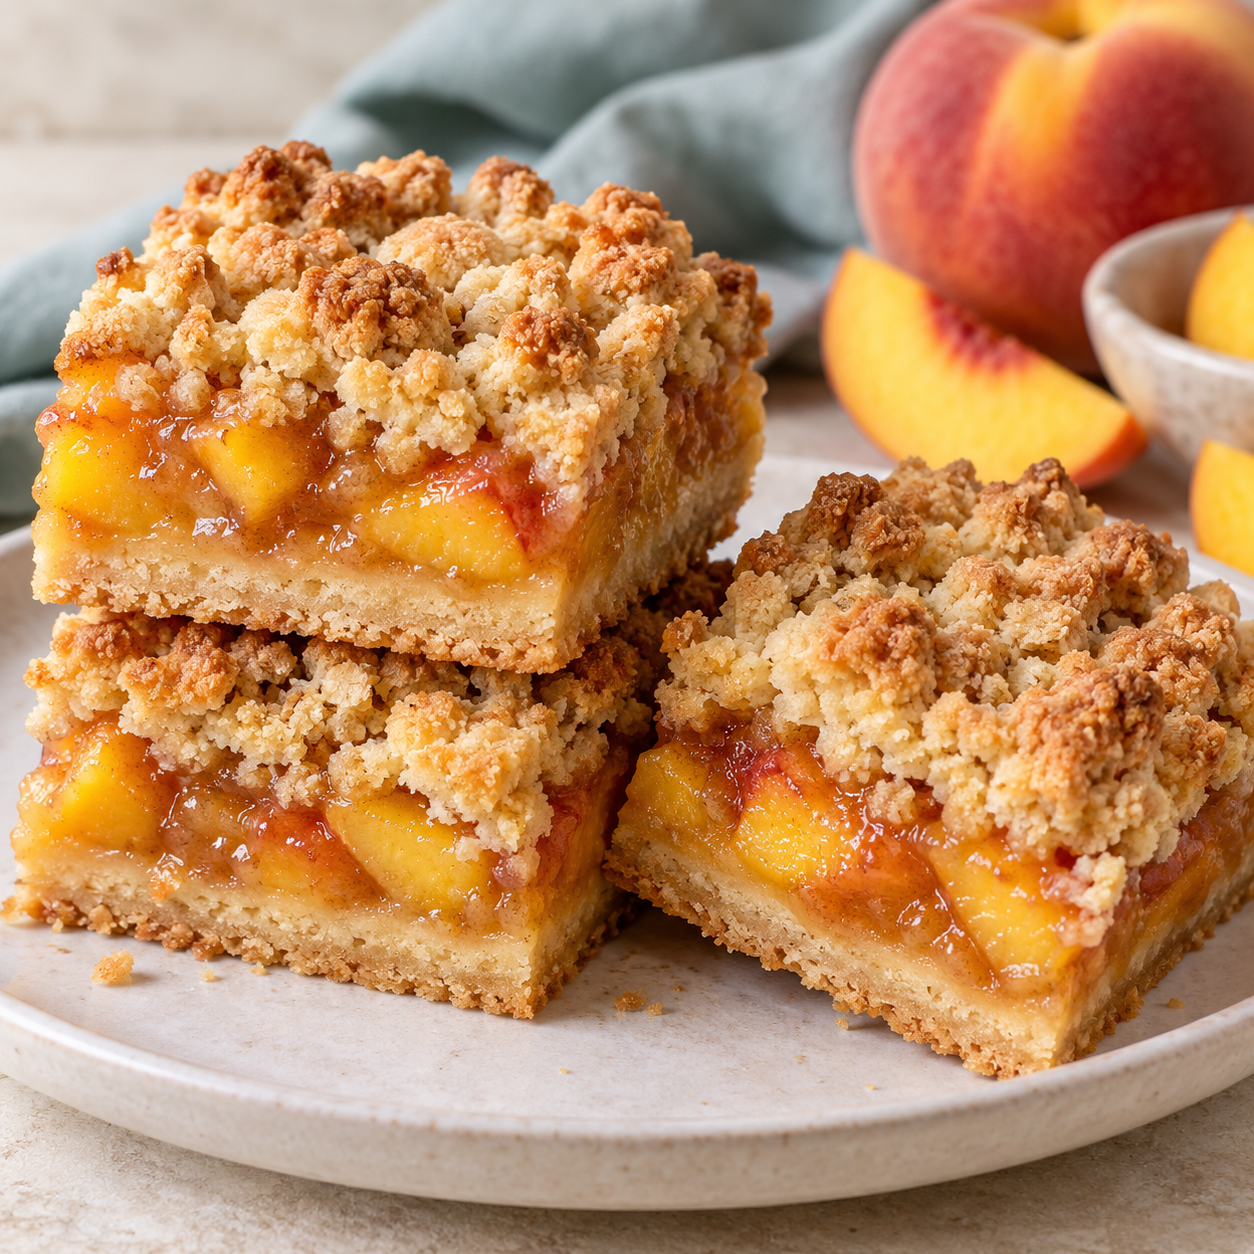
Easy Peach Crumble Bars with Fresh Peaches are a buttery, fruity dessert with juicy peaches tucked between tender crust and golden oat crumble. These easy peach crumble bars are simple to prepare, and they are perfect for summer picnics, potlucks, or a relaxed afternoon treat.
Why This Easy Peach Crumble Bars Recipe Works
First, the shortbread-style crust and crumble topping come from the same buttery mixture, so there is less prep and cleanup. Meanwhile, fresh peaches add bright flavor and natural juiciness. A small amount of cornstarch helps thicken the filling; therefore, the bars slice neatly after cooling.
Ingredients
- 2 cups all-purpose flour
- 1 cup old-fashioned rolled oats
- 3/4 cup granulated sugar, divided
- 1/2 cup packed light brown sugar
- 1/2 teaspoon baking powder
- 1/2 teaspoon salt
- 1 cup unsalted butter, melted and slightly cooled
- 1 teaspoon vanilla extract
- 4 cups peeled and sliced fresh peaches
- 2 tablespoons cornstarch
- 1 tablespoon lemon juice
- 1/2 teaspoon ground cinnamon
How to Make Easy Peach Crumble Bars
- Preheat the oven to 350°F. Line a 9-by-13-inch baking pan with parchment paper, leaving some overhang for easy lifting.
- Next, whisk the flour, oats, 1/2 cup granulated sugar, brown sugar, baking powder, and salt in a large bowl.
- Stir in the melted butter and vanilla until a crumbly dough forms. Reserve about 1 1/2 cups of the mixture for the topping.
- Press the remaining mixture firmly into the prepared pan. Bake the crust for 12 minutes.
- Meanwhile, combine the peaches, remaining 1/4 cup sugar, cornstarch, lemon juice, and cinnamon.
- Spread the peach mixture over the warm crust. Then, scatter the reserved crumble evenly over the top.
- Bake for 35 to 42 minutes, or until the topping is golden and the peach filling bubbles around the edges.
- Finally, cool the bars completely in the pan before lifting them out and cutting them into squares.
Recipe Details
- Prep Time: 20 minutes
- Cook Time: 47 to 54 minutes
- Total Time: 1 hour 7 minutes to 1 hour 14 minutes, plus cooling
- Servings: 16 bars
Pro Tips for Peach Crumble Bars
- Choose peaches that are ripe but still firm, since very soft fruit can make the filling watery.
- For easier peeling, score each peach, briefly blanch it, and then transfer it to ice water.
- Do not skip the cooling step. The filling thickens as it cools, so the bars will cut more cleanly.
- For extra flavor, add a pinch of nutmeg or replace part of the oats with chopped pecans.
- If your peaches are especially juicy, add one extra teaspoon of cornstarch.
Storage Instructions
Store cooled easy peach crumble bars in an airtight container in the refrigerator for up to 4 days. For the best texture, let them sit at room temperature for 15 to 20 minutes before serving. You can also freeze individually wrapped bars for up to 2 months; however, thaw them overnight in the refrigerator before enjoying.
Frequently Asked Questions
Can I use frozen peaches?
Yes. Use frozen sliced peaches without thawing, and add about 5 to 10 minutes to the baking time. If the fruit releases a lot of liquid, add another teaspoon of cornstarch.
Do I have to peel the peaches?
No, peeling is optional. Nevertheless, peeled peaches give the filling a smoother texture.
Why did my crumble bars turn out soft?
They may need more cooling time, or the peaches may have released extra moisture. Cool the bars completely and refrigerate them before slicing.
Can I make these peach crumble bars gluten-free?
Yes. Substitute a reliable 1-to-1 gluten-free flour blend and certified gluten-free oats. Check that all other ingredients are labeled gluten-free.
What should I serve with peach crumble bars?
Serve them plain, or pair them with vanilla ice cream, whipped cream, or a light dusting of powdered sugar.
Love easy fruit desserts? Try my Apple Crisp for another warm, simple dessert with a buttery crumble topping.

© 2026 Creative Kitchen Bites. All rights reserved.